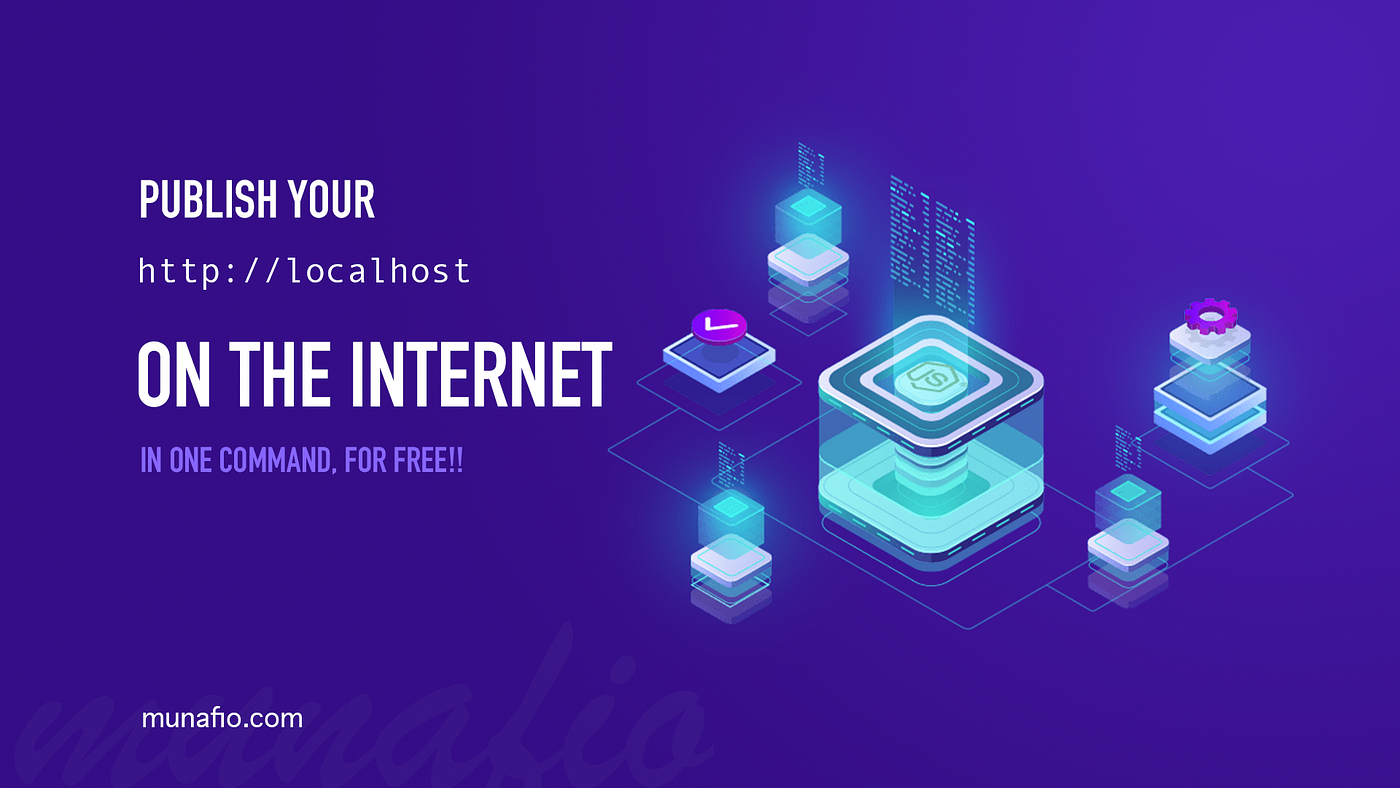
Publish your localhost server to the internet, from your home! — For Free
As a web developers, when we need to publish a web app to the internet and make it visible for others, we need a hosting to host our app. There are many options out there:
- Buying a cloud hosting from one of the services available on the internet like (Bluehost, Linode, DigitalOcean,.. etc).
- Using a free services for cloud hosting solutions, but of course with a limitations! like (Heroku, Google Cloud Platform, InfinityFree …etc).
- Cloud platforms for static frontends like React.js , vue.js, svelte, angular, or any other frontend framework, these companies like (Vercel, Netlify, .. etc) gives you all you need for free and you can scale up with a paid subscription if needed, and helps front-end teams work faster and more efficiently.
- Build your own server, but this option would costs you a lot of money and efforts to build, secure, configure one.
Not satisfied? here is the thing!
What if I told you, that you can host your localhost apps from your own computer only with one command and for FREE! 🤯🤯
Yeah!, that’s awesome right?🔥😂..
There are also many tools/services to do this such as (Expose, Packetriot,.. etc) which they are using a secure reverse tunneling protocol to connect servers and applications on local or private networks to the Internet.
And Ngrok (one of the best options), which is a globally distributed reverse proxy fronting your web services running in any cloud or private network, or your machine.
Also localxpose, which is a reverse proxy that enables you to expose your localhost to the internet.
You can check them out one by one, to know the best for your needs.
In this tutorial, I’m going to demonstrate one of these options which is (Expose).
Let’s begin..
First thing first, you need to have composer installed in your system then follow the steps below:
- Create a free account at Expose.
- Download and install the Expose client with composer:
composer global require beyondcode/expose3. Activate your token:
expose token [your-token-here]4. To speed up your Expose requests, use the nearest available Expose server.
You can set the default server using:
expose default-server ap-15. Start sharing your local sites using:
expose share http://localhost --subdomain=<your-subdomain>- http://localhost — is your localhost url want to be exposed, change it with yours if needed.
- <your-subdomain> — replace it with your subdomain or custom-domain you have configured in your dashboard at Expose or use the default one.
All these instructions can be found once you open your Expose dashboard for the first time, at Setup section.
after that, next time you need to expose an app to the internet, all you need is to follow step no. 5.
That’s it, your app is now live on the internet!🤯🔥
Questions you may ask
Q/ How can I keep my Nood.js related applications running even when I exit the terminal?
By using PM2, which is a daemon process manager that will help you manage and keep your application online 24/7
Q/ Can I turn off my computer and keep my app online?
No, you can not. Simply, because all the processes running will be stopped including Expose and PM2 processes if used .. who gonna keep them if you turned your computer off!😂🤷🏻♂️
Conclusion
We have discussed the different services (free/paid) to host your local web app and also now we know how to host local apps from our own computer using a reverse proxy services…
In general or at least my opinion, we can not rely on it completely for many reasons .. but, still would be a great solution if you want to share your app for your team or even for personal use, something like that; otherwise, use the other options mentioned at the beginning of this article.
That’s it for today, see you in a next articles 👋🏻❤️
Follow me on twitter .. if you want anything to ask, please don’t be shy 😁